|
How do I add tracking code or JavaScript to Shopify?
Here’s how to manually install your tracking code if you use Shopify. Generally speaking you shouldn’t need to do this, and we strongly recommend using the ClickMagick Shopify App instead:
How do I use ClickMagick’s Shopify App to integrate my store?
If you do need to manually install tracking code, just follow these steps ...
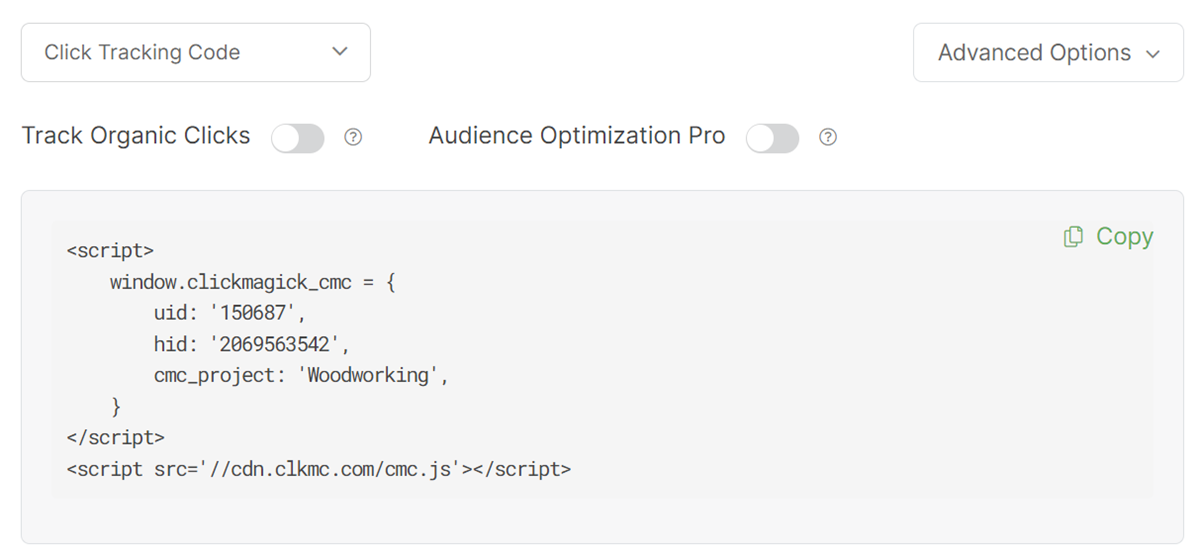
Step 1 - Add your Click Tracking Code
You can get your Click Tracking code by clicking on “Website Code” from the Campaigns Tools Menu:
Inside Shopify, click on “Online Store”

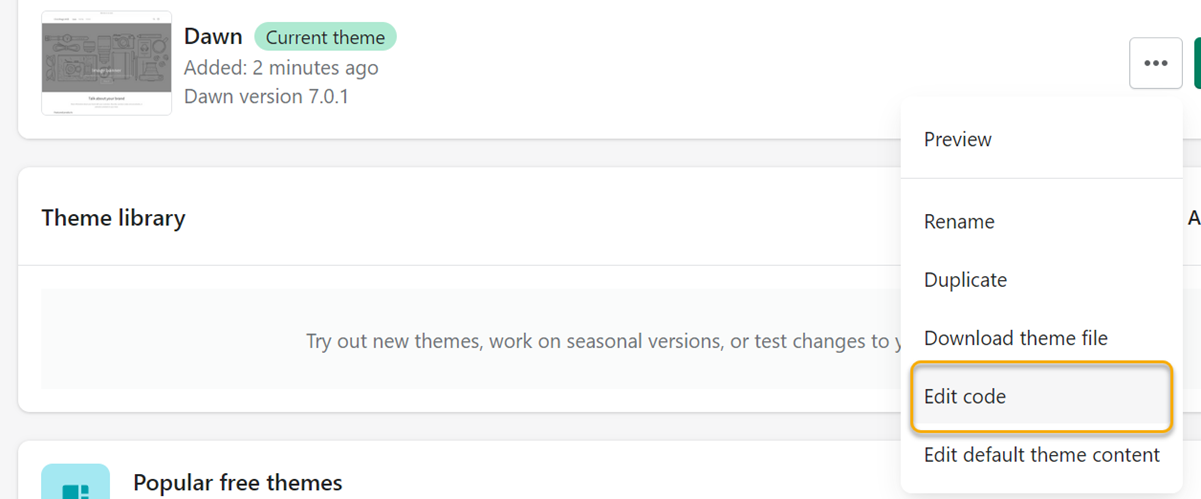
Click on the three dots next to the current theme, followed by “Edit Code”
Under “Layout”, select the
theme.liquid file and add the Click Tracking Code after the opening <head> tag.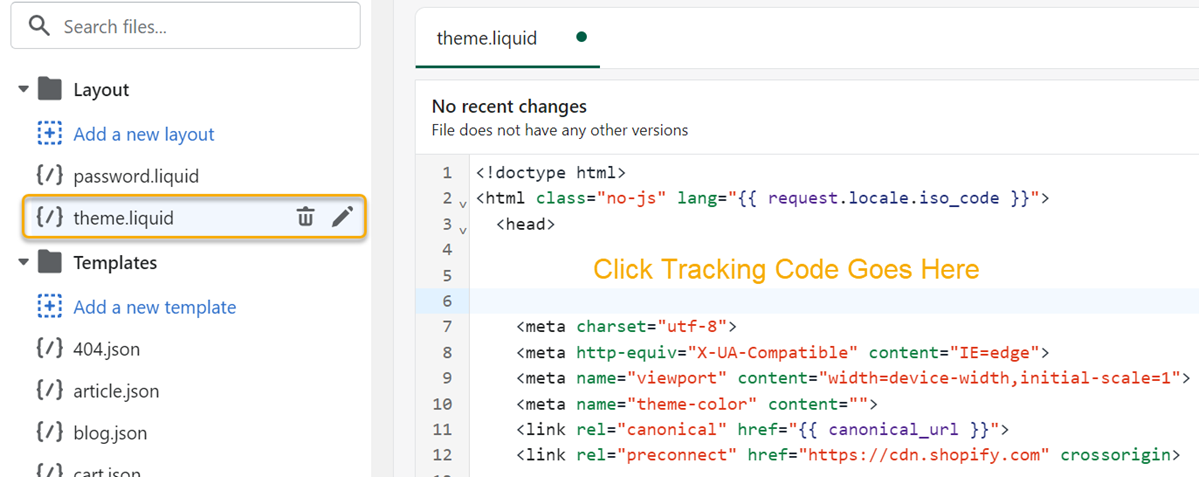
Note: If you plan on organically getting traffic, you’ll want to use the Organic Click Tracking code instead of the above code. For more info, please check out the article below:
How do I track organic traffic with Campaigns?
How do I track organic traffic with Campaigns?
Once that is done, Save your changes.
Step 2 – Add your Sales Tracking Code
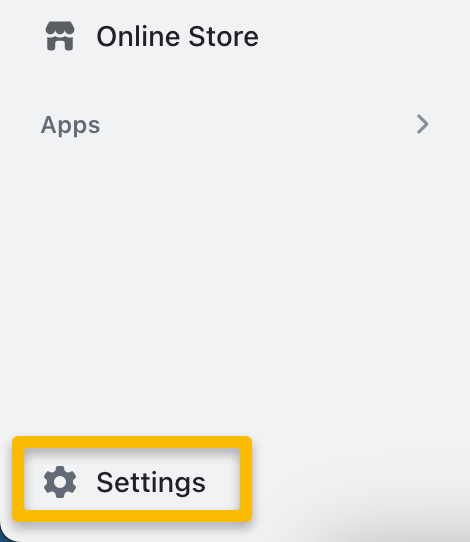
While in your Online Store dashboard, click on “Settings”.
Click “Checkout” on the left, then scroll down in the settings toward the bottom until you find the “Order status page”.
Add the script below into the “Additional scripts” box:
    <script>

        window.clickmagick_cmc = {

            uid: '[USERID]',

            hid: '[HID]',

            cmc_goal: 's',

            cmc_ref: 'shopify-{{ order_number }}',

            cmc_amt: '{{ total_price | money_without_currency }}',

            cmc_currency: '{{ currency }}',

        }

    </script>

    <script src='//cdn.clkmc.com/cmc.js'></script>
And that’s it! With the above set up, you can now track your Shopify Sales.
Article 594 Last updated: 08/15/2023 10:17:57 AM
https://www.clickmagick.com/kb/?article=594