|
How do I track webinar registrations in Stealth Seminar?
In this article we'll show you how to track webinar registrations inside of Stealth Seminar.
Using Campaigns to track Stealth Seminar registrations is pretty simple to do.
If you are using Stealth Seminar registration pages and thank you pages, here are the steps to follow:
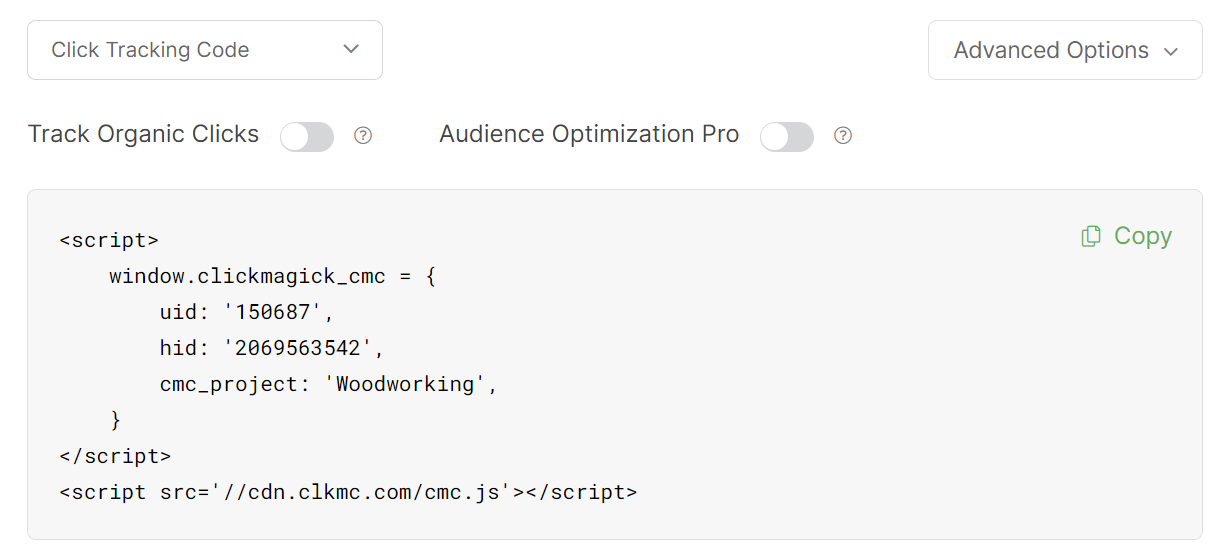
1 - Add your Click Tracking Code to Stealth Seminar
To do this, first head to the Campaigns Dashboard, click on Tools, click Website Code, then click “Custom Website Code” to get to the customized code builder for this solution.
From there, use the “Click Tracking” option and copy the “Copy” button to copy the code to your clipboard.
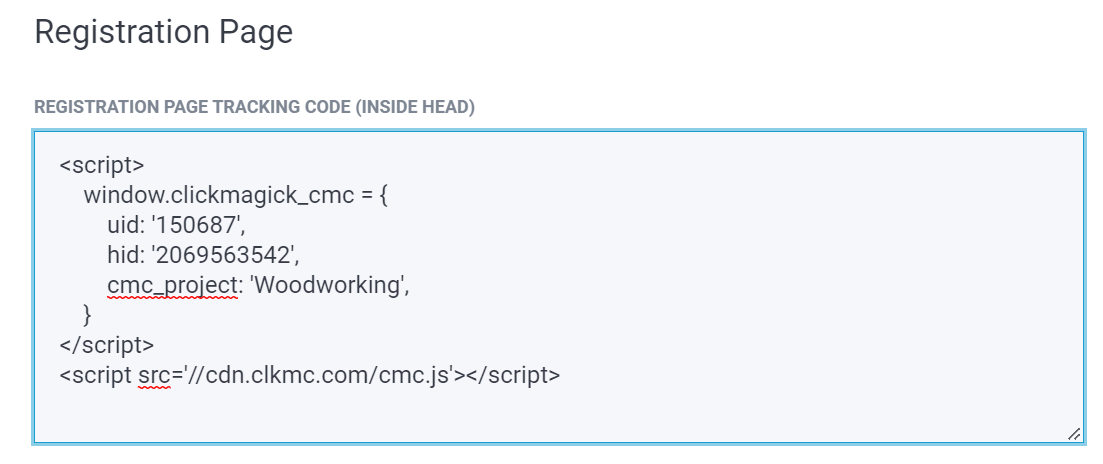
Next, for the webinar in Stealth Seminar, click on the “Miscellaneous” tab, then “Tracking Code Setup” and put the code into the “Registration Page Tracking Code (Inside Head)” section of “Registration Page”
2 - Add an Action Conversion Code to Stealth Seminar
Simply head back to the Campaigns Dashboard, click on the Tools Menu and click Website Code to grab your Action Conversion Code:
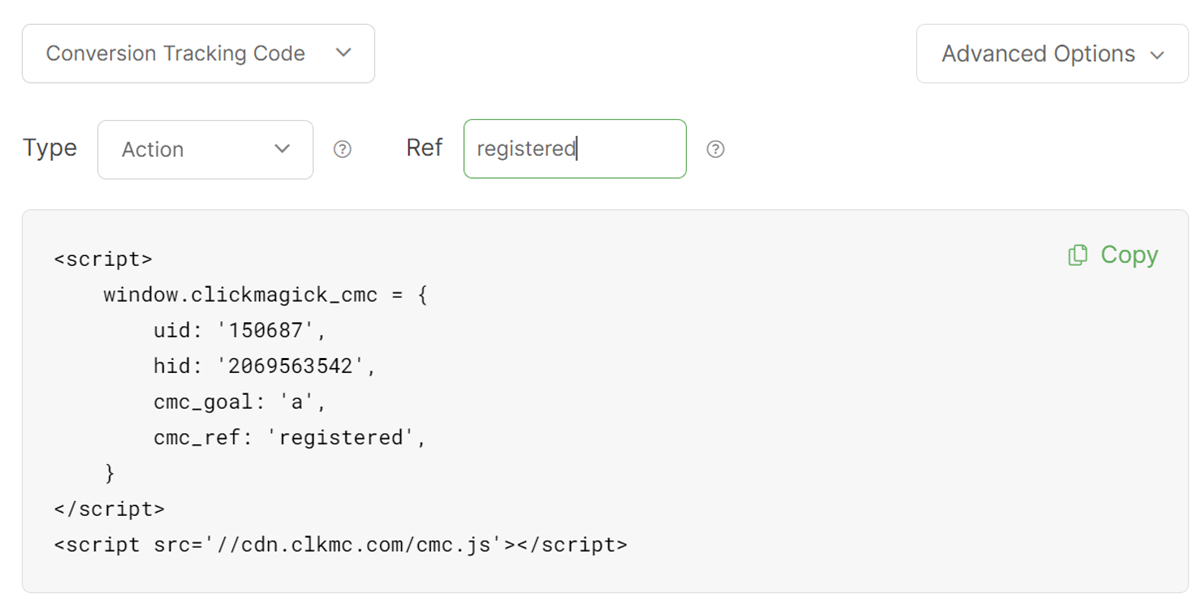
You could also get your Action Conversion Tracking Code below:
<script>
window.clickmagick_cmc = {
uid: '[USERID]',
hid: '[HID]',
cmc_goal: 'a',
cmc_ref: 'registered',
}
</script>
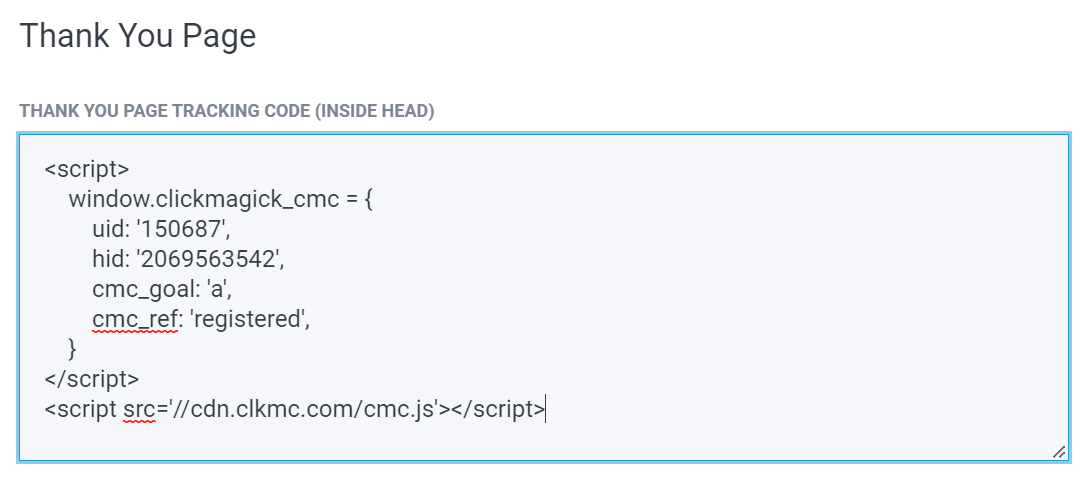
<script src='//cdn.clkmc.com/cmc.js'></script>In the “Miscellaneous” tab and then inside “Tracking Code Setup” you'll see the “Thank You Page” section. This is where you'll add your Action Conversion Code:
3 - Create a UTM Powered Link For Your Registration Page
In the Campaigns URL Builder, build a UTM powered link for your registration page and begin sending traffic to it.
You'll be begin to see clicks, and actions recorded as visitors register for your webinars.
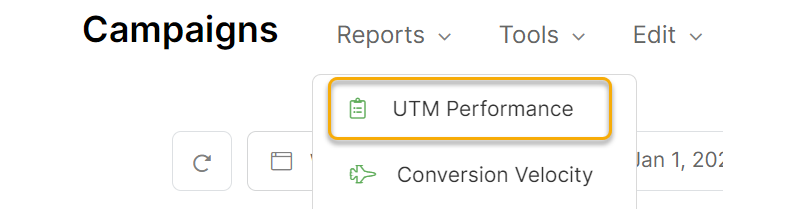
To view the data in greater detail, use the UTM Performance Report:
Tracking webinar registrations when using tracking links is simple.
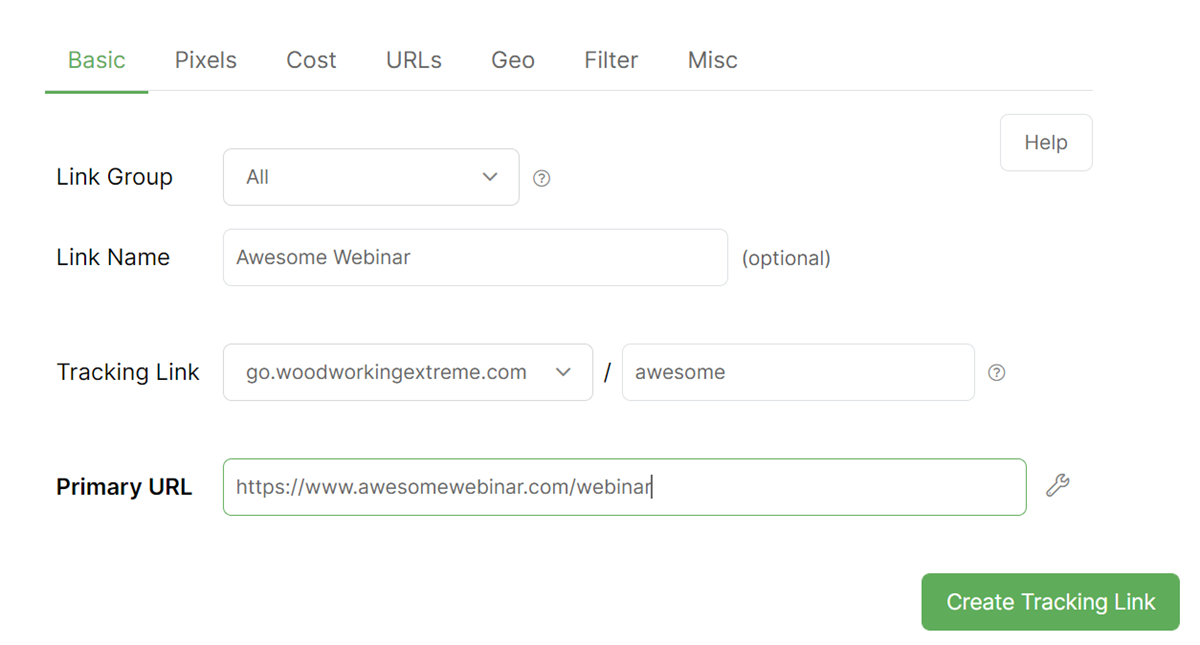
1 - Create a Tracking Link For Your Registration Page
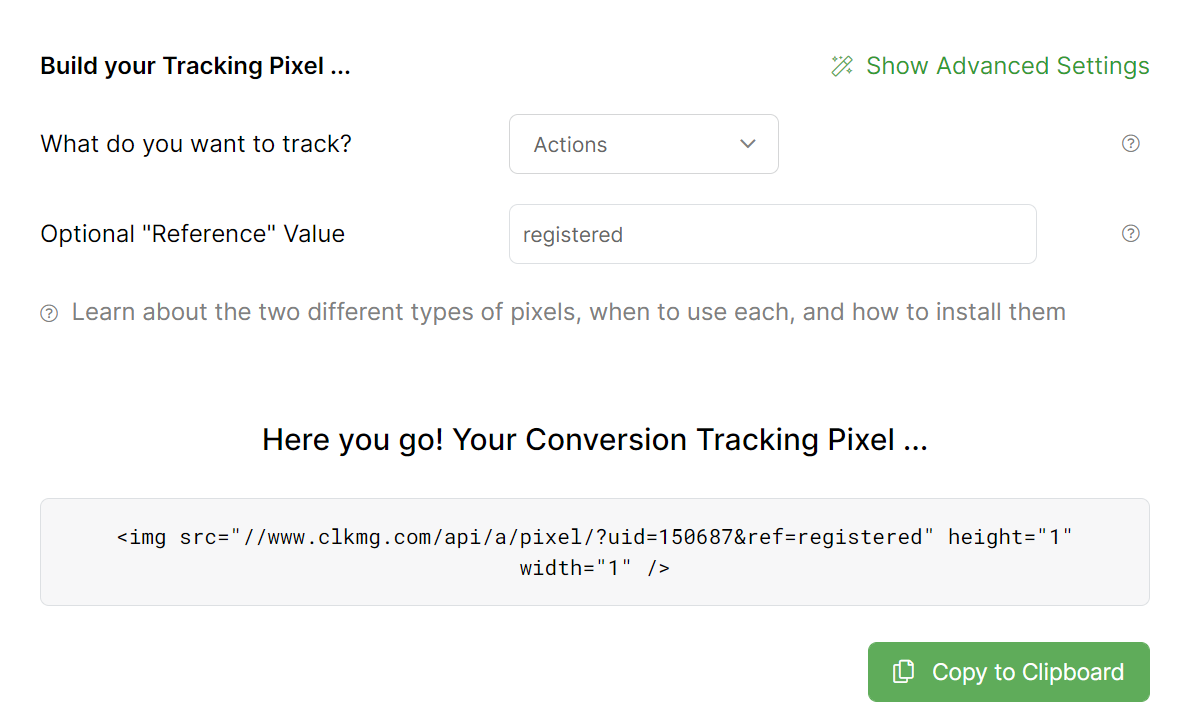
2 - Add a ClickMagick Action Pixel To The Thank You Page
To do this, simply head to the Pixel Builder to build your Action Pixel:
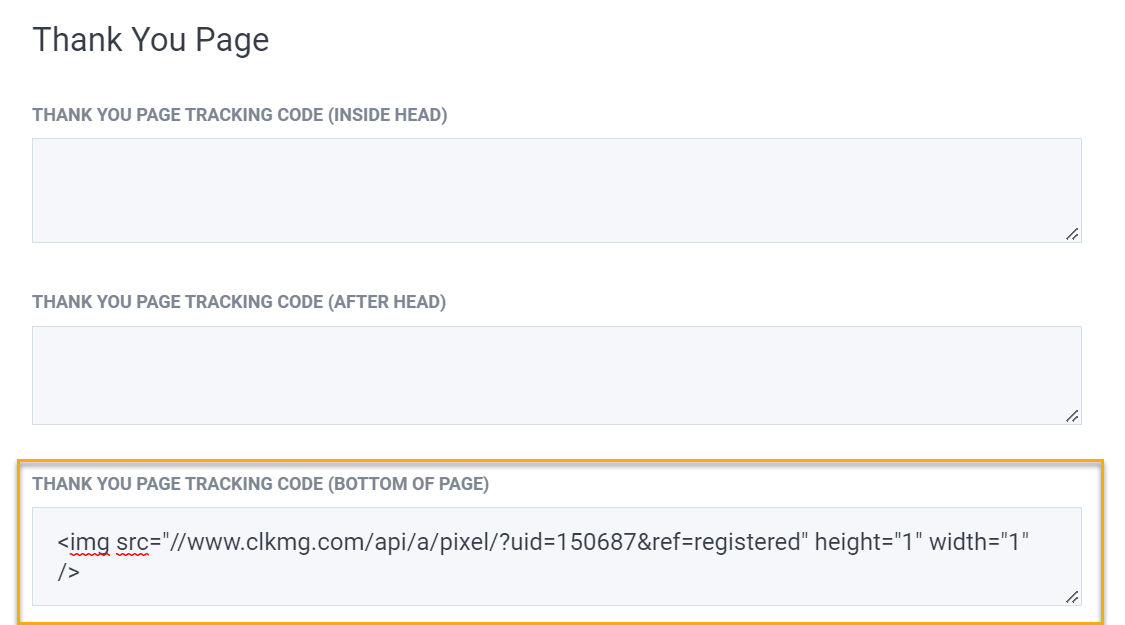
Next head to the “Miscellaneous” tab in the “Tracking Code Setup” and find the “Thank You Page” section.
Add your Action Pixel, to the bottom of the page:
That's it! Just send traffic to your tracking link and you'll be able to track your webinar registrations.
Article 698 Last updated: 12/14/2022 2:31:27 PM
https://www.clickmagick.com/kb/?article=698