|
How do I create a custom form in Aweber?
Cross-device tracking is an excellent way to keep track of potential customers that sign up to your list on one device, but then make the purchase another time on another browser or device.
If you rely on email follow-ups to drive your sales cycle, cross-device tracking is critical to getting the most accurate stats possible to scale your traffic and optimize your business.
This article will show you how to create a custom form in Aweber that will work with cross-device tracking
If you have not created your
cmc_vid field yet, please review the article below related to cross-device tracking and make sure your custom field is created in Aweber before continuing this process. How do I set up cross-device tracking using Campaigns?
If you already have your custom
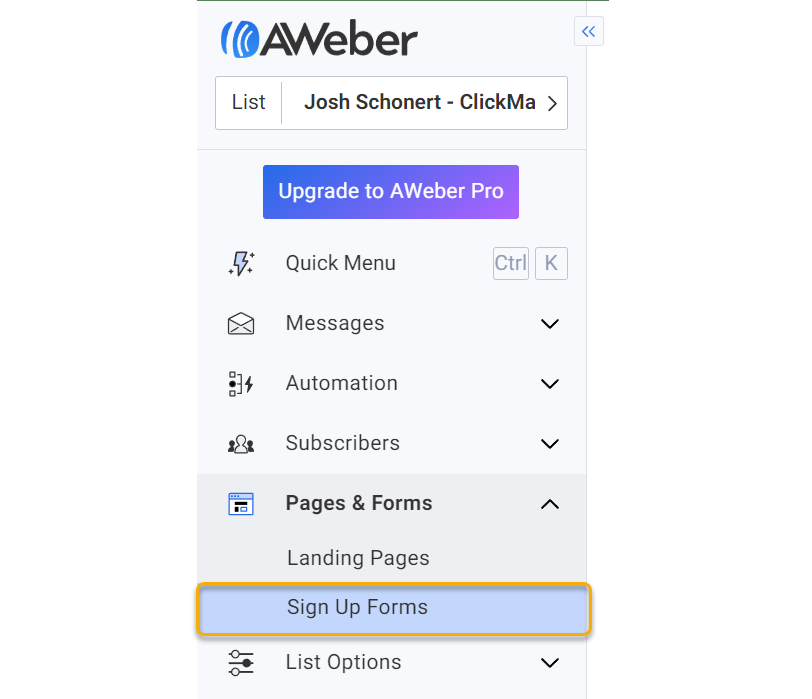
cmc_vid field ready in Aweber, please follow these steps to create a custom form that includes this cmc_vid field.1. In Aweber, click on the Pages & Forms menu, then click on “Sign Up Forms”.
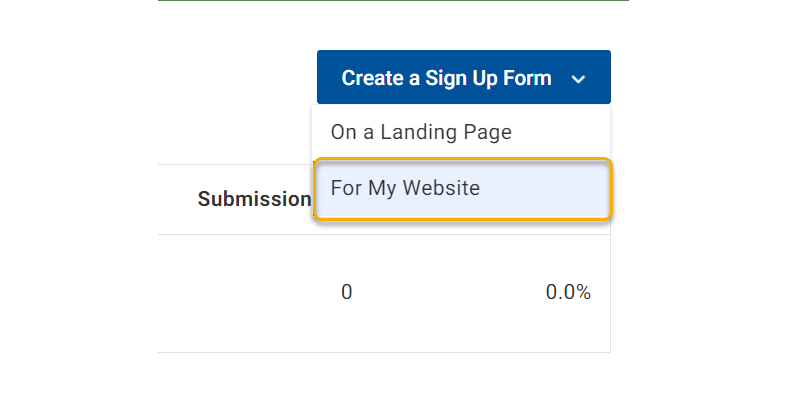
2. Click on “Create a Sign Up Form” and then choose “For My Website”
If you’d like to use the default form, then move on. Otherwise, you can pick a template from the list for something that would fit your needs.
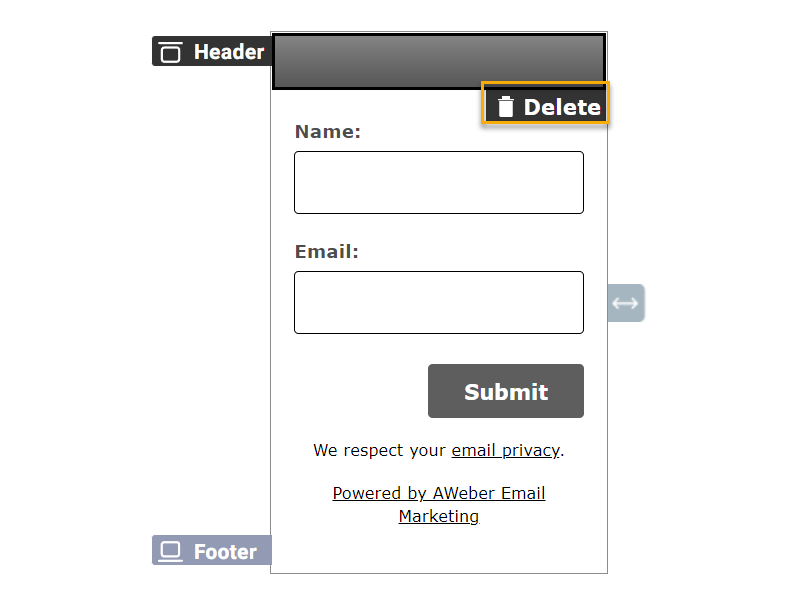
3. Once you’ve picked a form template or decided on the default one, you may want to remove the content in the header and footer of the form. Hover your mouse over each part and choose the delete button at the bottom right of each element.
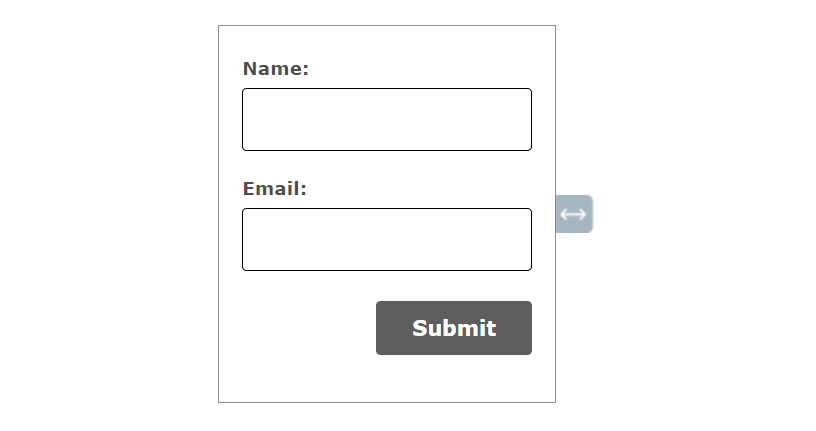
Once you have it cleaned up, it may look something like this:
4. Click the “Go To Step 2” button and fill out the next page information for what you’d like the form to do.
Choose where you want new subscribers to go:
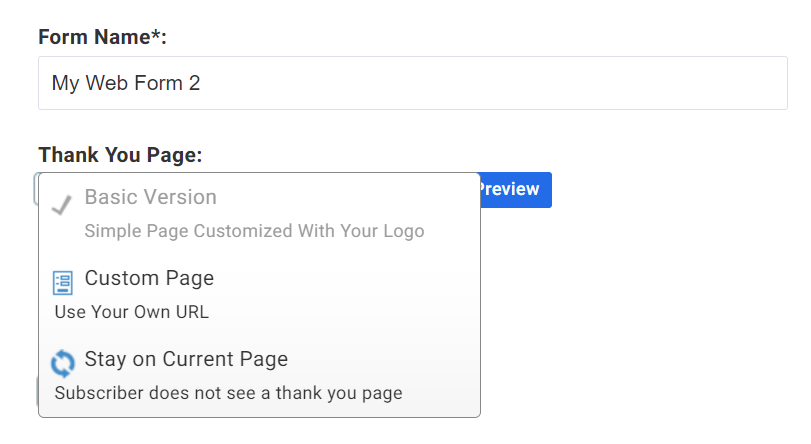
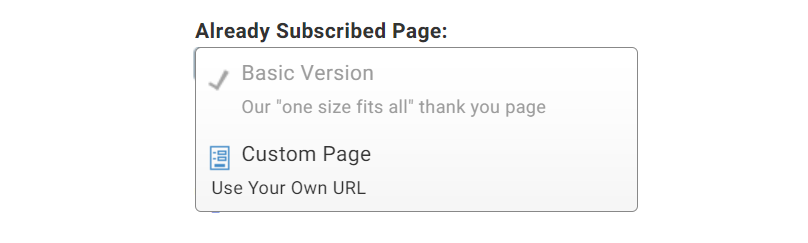
Then choose where you want returning subscribers to go:
5. Click on the “Go To Step 3” button and then choose the option “Raw HTML Version”. Then, ensure you uncheck the box that states “Include beautiful form styles”.
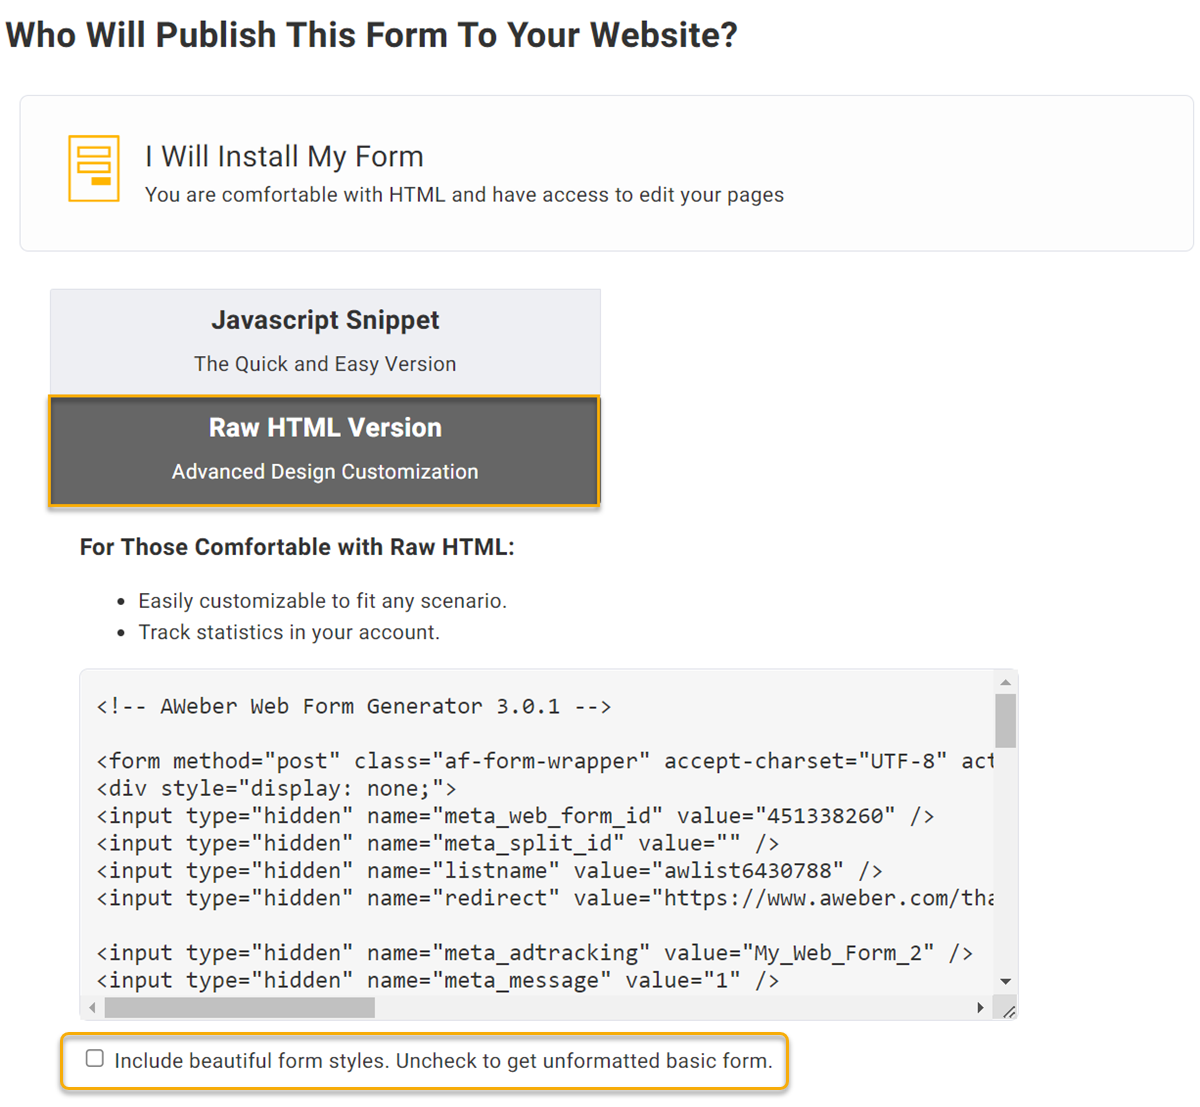
6. Copy the code you see in the box and paste it into your favorite notepad application.
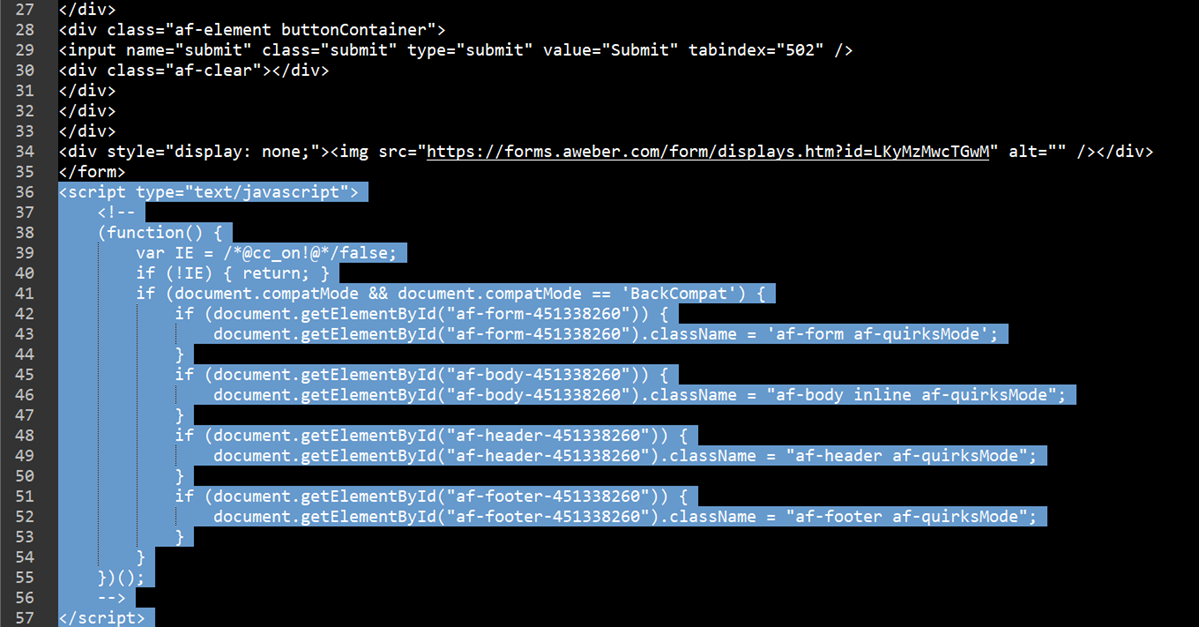
7. Once you have pasted it into a notepad app, look for the JavaScript portion at the end of the script and remove it. See below for the exact highlighted portion:
8. Then, you need to find the line that includes “
meta_tooltip”, and then add the code included below just after it. The screenshot after should help you locate exactly where to put it.Here is the line of code you’ll need to add to the script for the Aweber custom form:
<input type="hidden" name="custom cmc_vid" value="[cmc_vid]" />
And that’s it! You’ve now created a custom form in Aweber that will work with cross-device tracking.
Article 823 Last updated: 03/13/2023 11:10:27 AM
https://www.clickmagick.com/kb/?article=823