|
How do I track Taboola Ads in ClickMagick?
To get started with tracking Native Ads, select the ad network you’re using below and we’ll show you how to get the accurate metrics you need to optimize and scale your ads.
Step 1 – Build Your UTM-Powered URL
Before building your UTM-powered URLs you'll want to make sure you have your Campaigns tracking set up.
For details on how to do that, you'll want to view the article below:
ClickMagick Campaigns - Getting Started
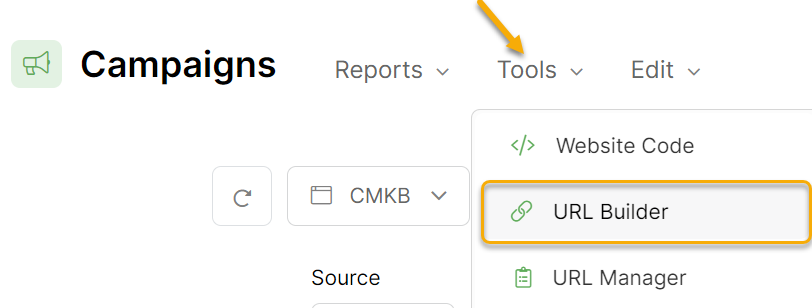
To build your UTM-powered URL, use the “URL Builder” in the Tools Menu:

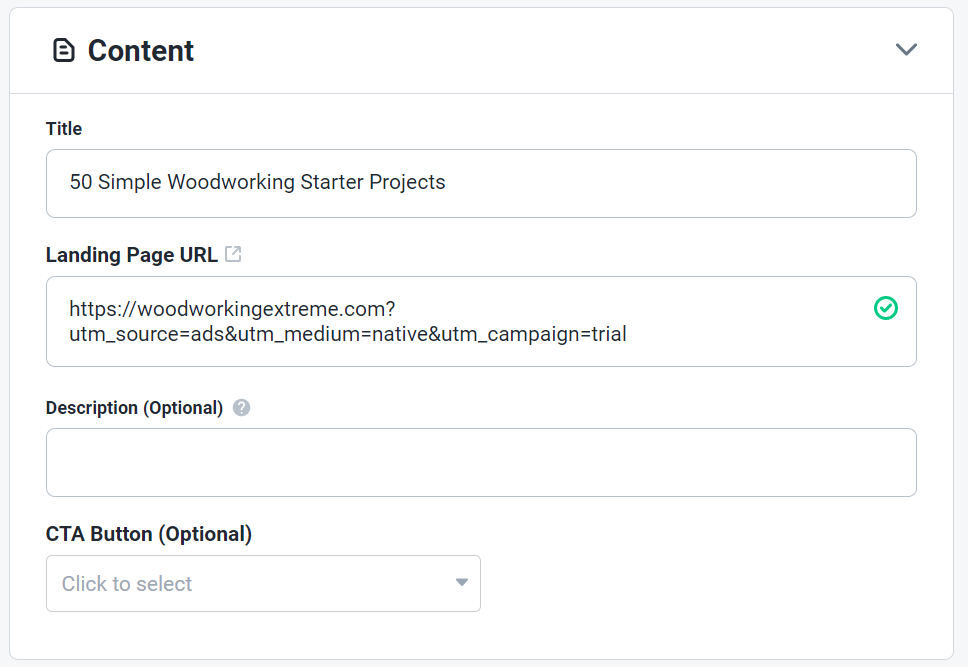
Enter your landing page URL, and enter the UTM values you want to track.
You must enter values for
utm_source, utm_medium, and utm_campaign.
You can use RevContent’s tracking tokens in your UTM URL shown below:
|
traffic type the creative was serving based on |
|
numerical identifier of the campaign clicked on |
|
numerical identifier of the content clicked on |
|
city of the user clicking on the content |
|
state of the user clicking on the content |
|
country of the user clicking on the content |
|
numerical identifier of the widget the click occurred on |
| Others | Click here for RevContent's full set of parameters |
Step 2 – Add Your UTM-Powered URL To RevContent
Inside of RevContent, create a new Campaign or edit an existing Campaign.
In the Destination URL field, you'll enter your UTM URL you created in Step 1:
And that's all you need to do to set up tracking with Campaigns.
To send conversion data to RevContent, just follow the steps in the article below:
How do I send conversion data to RevContent?
Step 1 – Build Your UTM-Powered URL
Before building your UTM-powered URLs you'll want to make sure you have your Campaigns tracking set up.
For details on how to do that, you'll want to view the article below:
ClickMagick Campaigns - Getting Started
To build your UTM-powered URL, use the “URL Builder” in the Tools Menu:

Enter your landing page URL, and enter the UTM values you want to track.
You must enter values for
utm_source, utm_medium, and utm_campaign.
You can use Taboola’s tracking tokens in your UTM URL shown below:
|
The image or the video URL |
|
The headline for your item |
|
The user platform on which your item was presented. This returns "Desktop," "Mobile," or "Tablet" |
|
A unique Taboola campaign ID. This campaign ID can be found on the "Campaign Management" page in Backstage |
|
The campaign name, as defined in the "Campaign Management" page in Backstage |
|
A unique Taboola ID, as defined in the "Top Campaign Content" report in Backstage |
|
The real-time cost-per-click bid of each click |
| Others | Click here for Taboola's full set of parameters |
To track your ad spend with Taboola, click to the “Optional CMC Parameters” tab of the URL Builder, then under the cmc_cpc field click on “Add Token”.
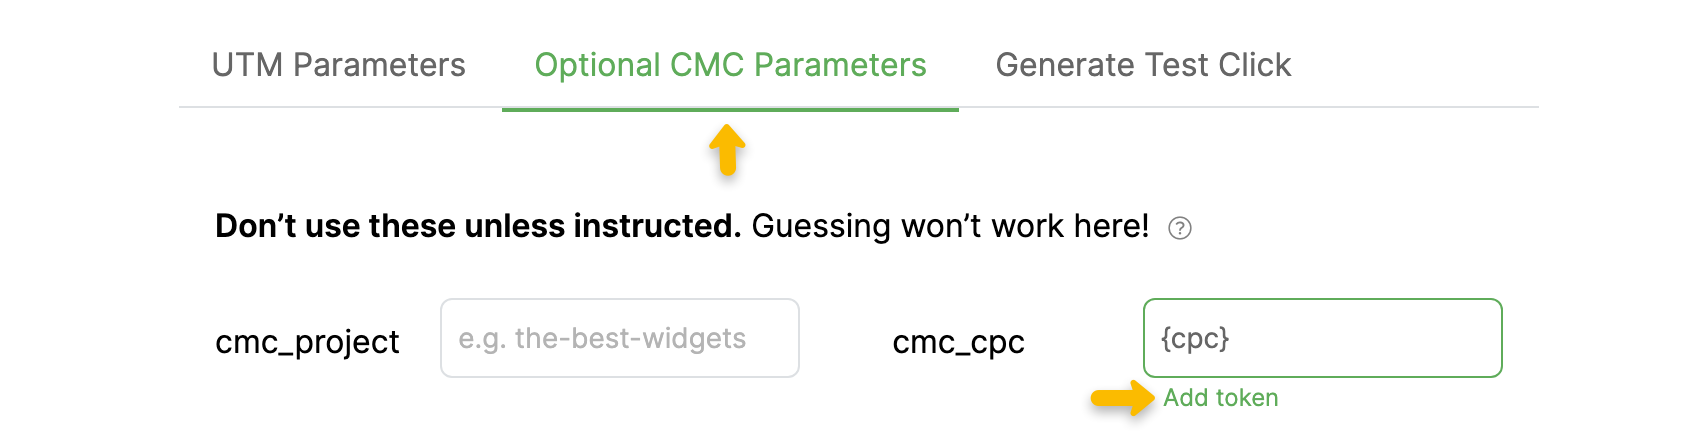
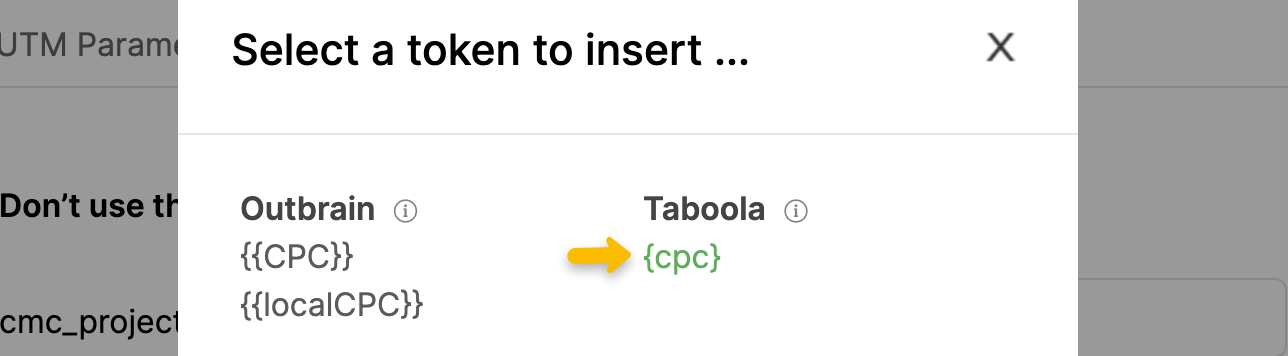
Then just click {cpc} under Taboola and their dynamic cpc token will be inserted into your URL ...
Note: Taboola sometimes sends the cpc value as a normal decimal number, but other times they send it in an encrypted format.
Unfortunately they don’t explain how this works, and after reaching out to them on multiple occasions we haven’t been able to get any further info on this.
Therefore, you should assume some or all of your cpc values will be encrypted, and follow the two additional steps below to set up support for this as well.
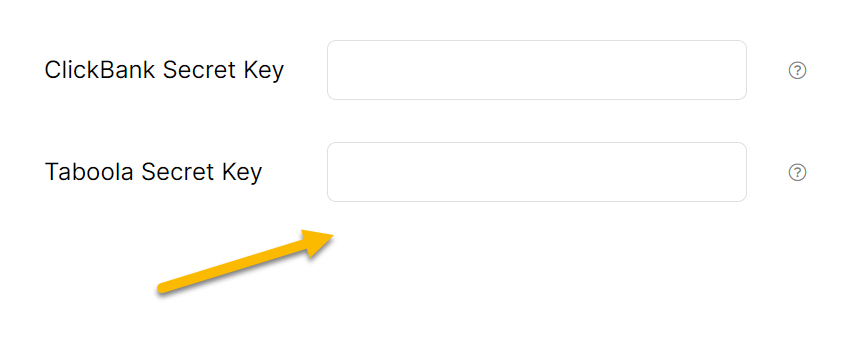
First you will need to reach out to your Taboola support rep and ask them to provide you with your unique secret key that is used to decrypt the cpc values in your URLs. This is the only way to get your Taboola secret key.
Once you have your Taboola secret key, simply go to your ClickMagick Settings, click to the Keys tab, and add your Taboola secret key there. Remember to save when you’re done modifying your Settings!
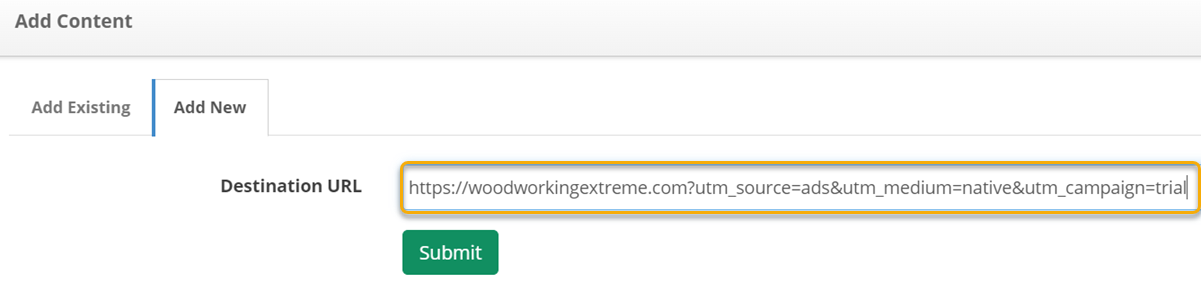
Step 2 – Add Your UTM-Powered URL To Taboola
Inside of Taboola, create a new Campaign Boost or edit an existing Campaign.
Under URL, you'll enter your UTM URL you created in Step 1:
And that's all you need to do to set up tracking with Campaigns.
To send conversion data to Taboola, just follow the steps in the article below:
How do I send conversion data to Taboola?
Step 1 – Build Your UTM-Powered URL
Before building your UTM-powered URLs you'll want to make sure you have your Campaigns tracking set up.
For details on how to do that, you'll want to view the article below:
ClickMagick Campaigns - Getting Started
To build your UTM-powered URL, use the “URL Builder” in the Tools Menu:
Enter your landing page URL, and enter the UTM values you want to track.
You must enter values for
utm_source, utm_medium, and utm_campaign.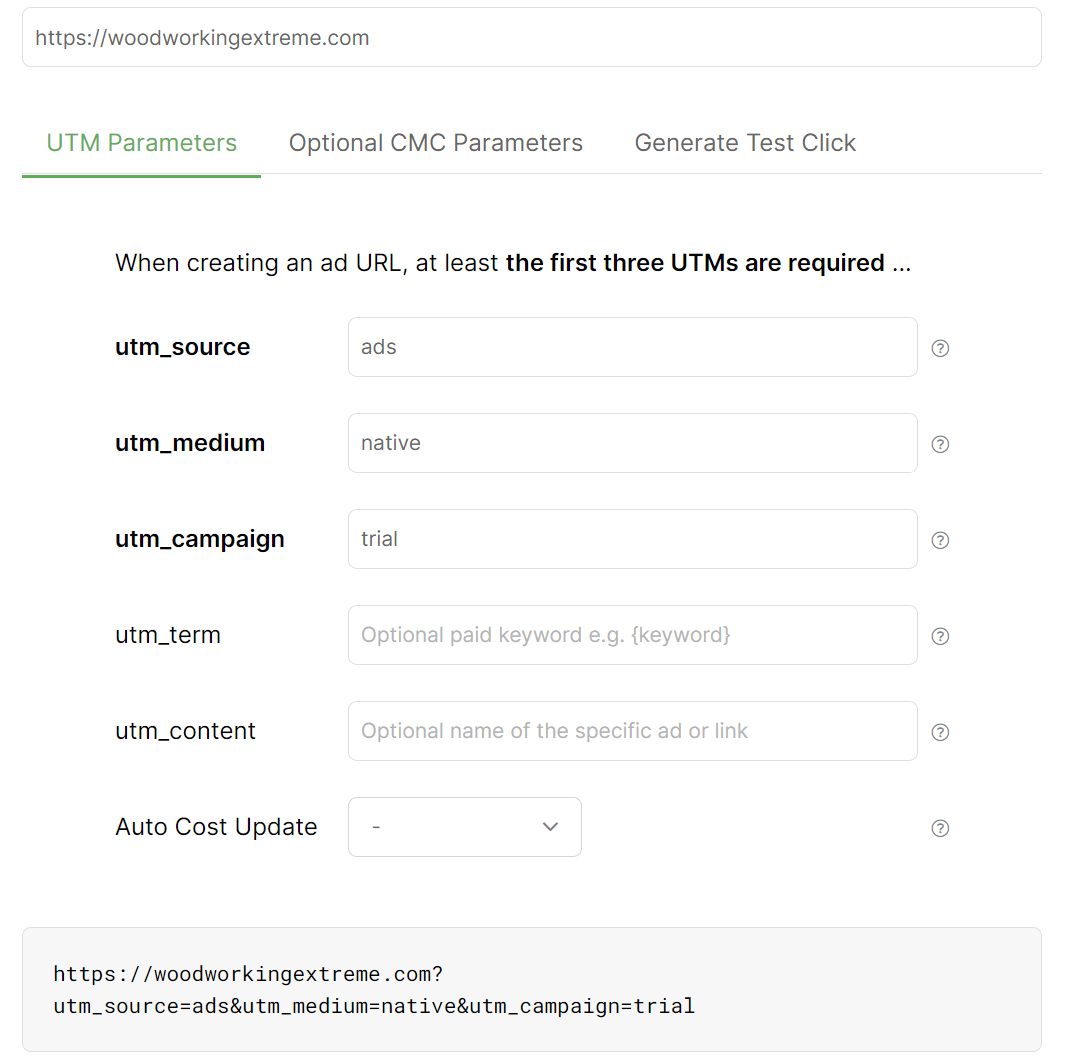
You can use MGID’s tracking tokens in your UTM URL shown below:
|
Returns the Teaser ID |
|
Returns the site from which the user came |
|
Returns the Campaign ID in the MGID system |
|
Returns the ID of the teaser category in the MGID system |
|
Returns the city or region of impressions selected in the campaign settings |
|
Returns the unique ID of the click |
|
Returns the price per click |
| Others | Click here for MGID's full set of parameters |
Step 2 – Add Your UTM-Powered URL To MGID
Create or edit an ad inside of MGID.
Select the Campaign and Add the URL you created in Step 1:

And that’s it! The traffic you get from MGID will now be tracked in ClickMagick Campaigns.
If you want to send conversion data back to MGID, follow the steps in the article below:
How do I send conversion data to MGID?
Step 1 – Build Your UTM-Powered URL
Before building your UTM-powered URLs you'll want to make sure you have your Campaigns tracking set up.
For details on how to do that, you'll want to view the article below:
ClickMagick Campaigns - Getting Started
To build your UTM-powered URL, use the “URL Builder” in the Tools Menu:

Enter your landing page URL, and enter the UTM values you want to track.
You must enter values for
utm_source, utm_medium, and utm_campaign.
You can use Outbrain’s tracking tokens in your UTM URL shown below:
|
Returns the headline of your ad |
|
Returns the referrer's section name |
|
Returns the referrer's publisher name |
|
Returns the ID of the campaign |
|
Returns the section ID of the referrer |
|
Returns the referrer's publisher ID |
|
Returns the unique click ID |
|
Returns the cost-per-click in USD |
|
Returns the cost-per-click of the Campaign’s currency |
| Others | Click here for Outbrain's full set of parameters |
Step 2 – Add Your UTM-Powered URL To Outbrain
Create or edit an ad inside of Outbrain.
Enter the UTM URL you created in Step 1 as your Content URL as shown below:
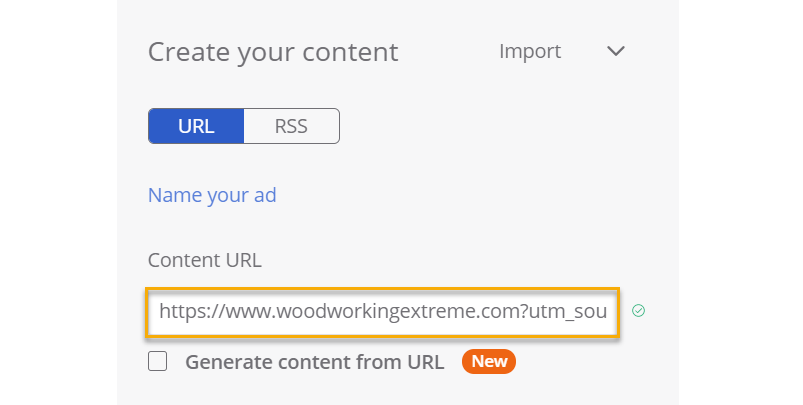
And that’s all you need to do to start tracking your Outbrain ads with ClickMagick.
To send conversion data to Outbrain, just follow the steps in the article below:
How do I send conversion data to Outbrain?
Step 1 – Build Your UTM-Powered URL
Before building your UTM-powered URLs you'll want to make sure you have your Campaigns tracking set up.
For details on how to do that, you'll want to view the article below:
ClickMagick Campaigns - Getting Started
To build your UTM-powered URL, use the “URL Builder” in the Tools Menu:

Enter your landing page URL, and enter the UTM values you want to track.
You must enter values for
utm_source, utm_medium, and utm_campaign.
You can use Ad.Style's tracking tokens in your UTM URL below:
|
A unique Ad.Style widget ID, for specific widget appearing on publisher website. |
|
Returns the unique Ad ID |
|
Returns the city the user is viewing/clicking the ad from. |
|
Returns the ID of the campaign |
|
Returns the country the user is viewing/clicking the ad from. |
|
Returns the state the user is viewing/clicking the ad from. |
|
Returns the operating system on which your ad was presented or clicked. |
|
Returns the browser type on which your ad was presented or clicked |
|
Returns the Unique click ID on Ad.Style network, is needed when you track conversions and pass those back to Ad.Style using server-to-server tracking |
| Others | Click here for Ad.Style network's full set of parameters |
Step 2 - Add Your UTM-Powered URL to Ad.Style
Inside of Ad.Style, after creating a Campaign you'll want to add your URL when creating your ad:
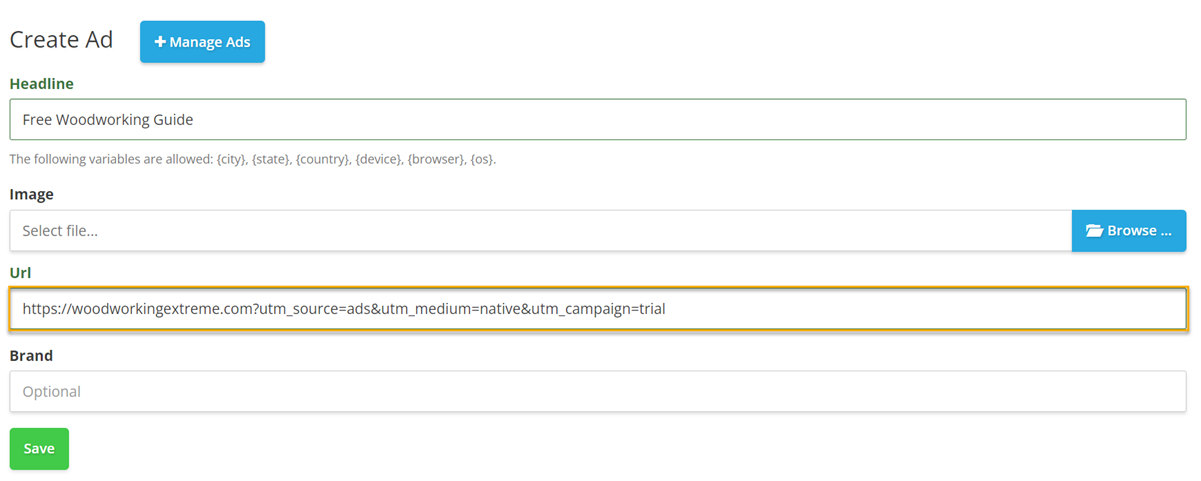
And that's it. The traffic you receive from Ad.Style will appear in ClickMagick Campaigns.
To send conversion data to Ad.Style, just follow the steps outlined in the article below:
How do I send conversion data to Ad.Style?
Article 767 Last updated: 02/10/2024 11:24:54 AM
https://www.clickmagick.com/kb/?article=767